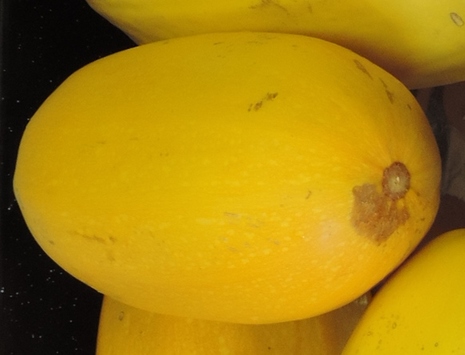
A friend gave us a box of squash of an unknown variety. It sat there for about a month while the thought of chopping it apart to get to the meat and the mess of cleaning out the seeds and stuff balanced with my craving for something to use in recipes calling for pumpkin, winter squash, and sweet potatoes for baking cookies, muffins, quick breads, cakes, and pies.
A bit of research turned up the foodiewithfamily.com website which shows the easiest way ever to cook squash and pie pumpkin in a slow cooker. I was skeptical until I read the numerous comments attached to her post. And then I tried it for myself.
The post says there's no need to take the stems off before placing in the slow cooker, but the stems were prickly and took up too much room, especially in my smaller 6 quart crock pot, so I removed them while washing them clean as they still had some gritty garden dirt.
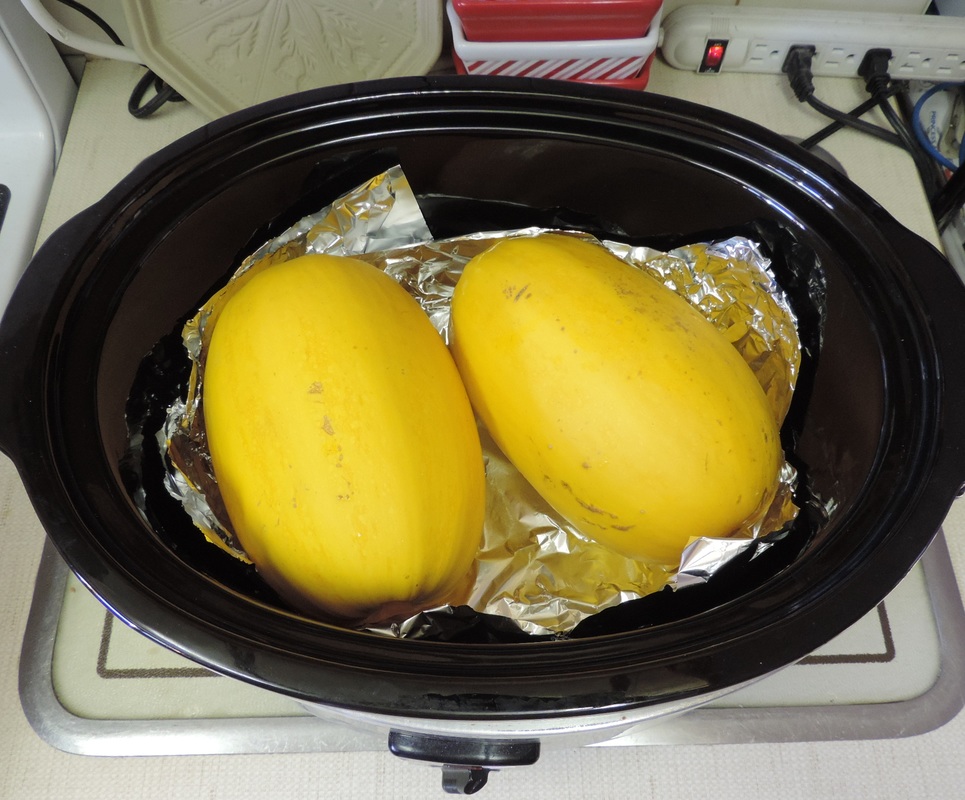
Before I put them in though, I lined the crock pot with aluminum foil and then added the biggest squash I had. Since it was too big, I switched to 2 smaller ones instead.
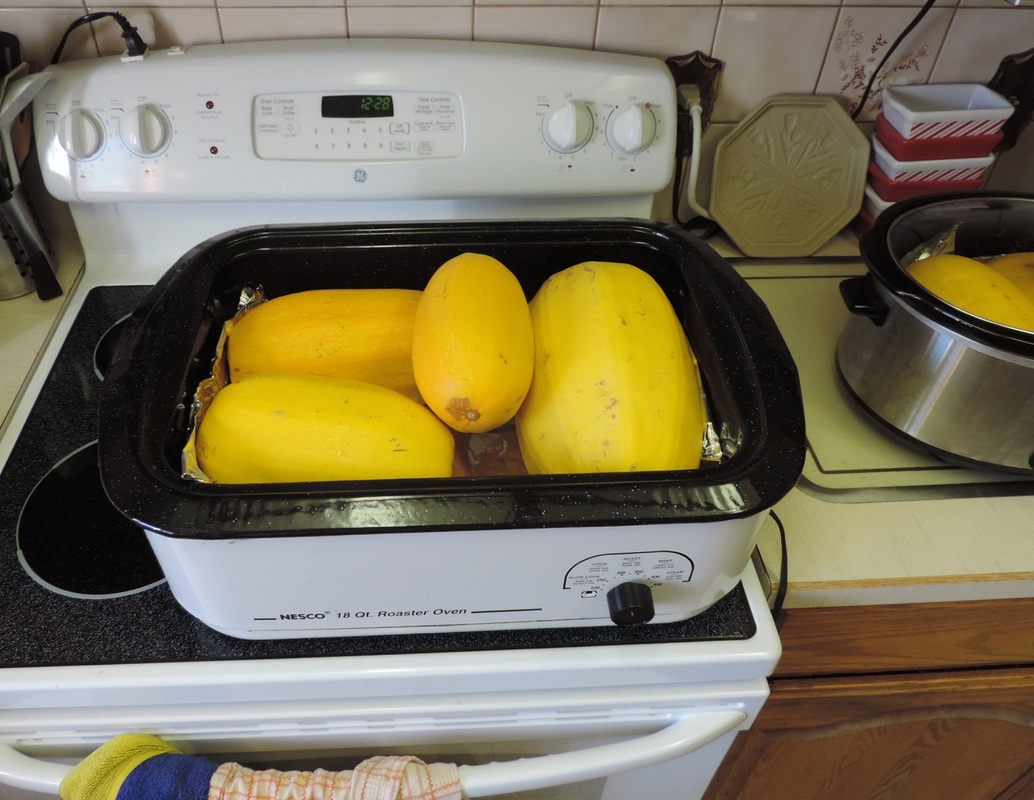
And then I got out my big 18 qt roaster and since it has a higher lid, the biggest squash fit nicely inside - as you can see on the right side of this photo:
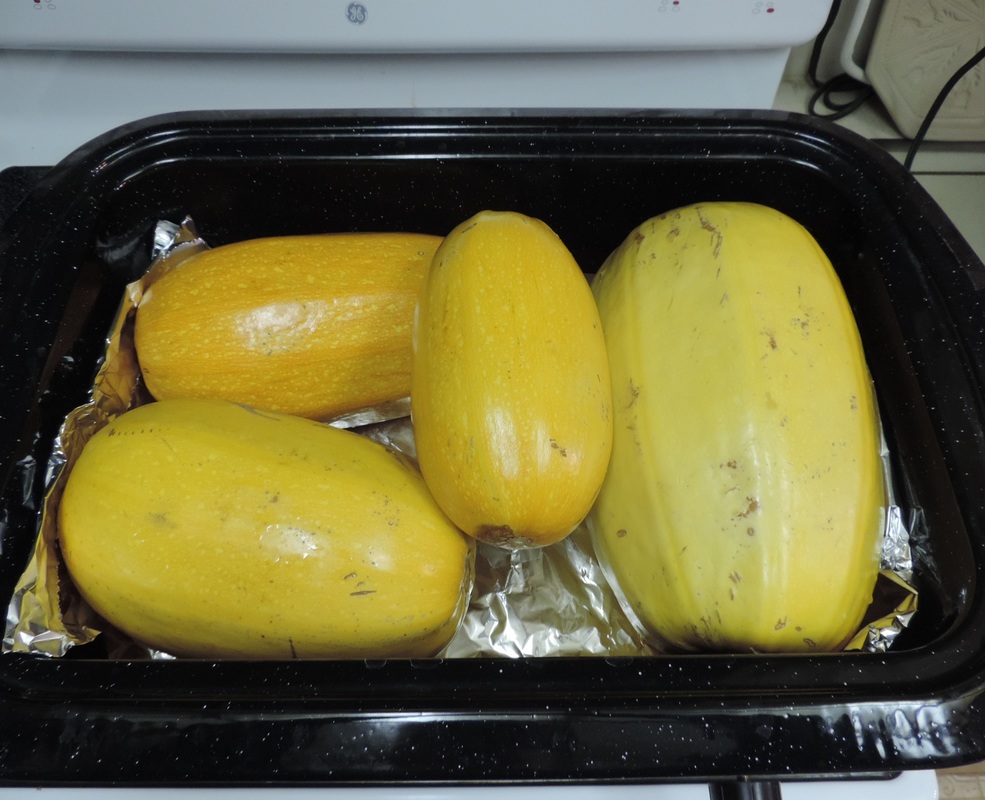
With the biggest one place, I added the other squash. I wasn't sure about the smallest one sitting on top, but the roaster's high lid had plenty of extra space and I knew the steamy heat would fill the spot.
I set the crock pot on low, and the roaster on 260 F which it says is the proper temp for slow cooking.
And then I left them alone all day long.
After supper that evening, I used my thumb to check the skins for tenderness. The small ones were soft. In the photo below, they have a darker yellow coloring. I took those out and left the rest to continue cooking.
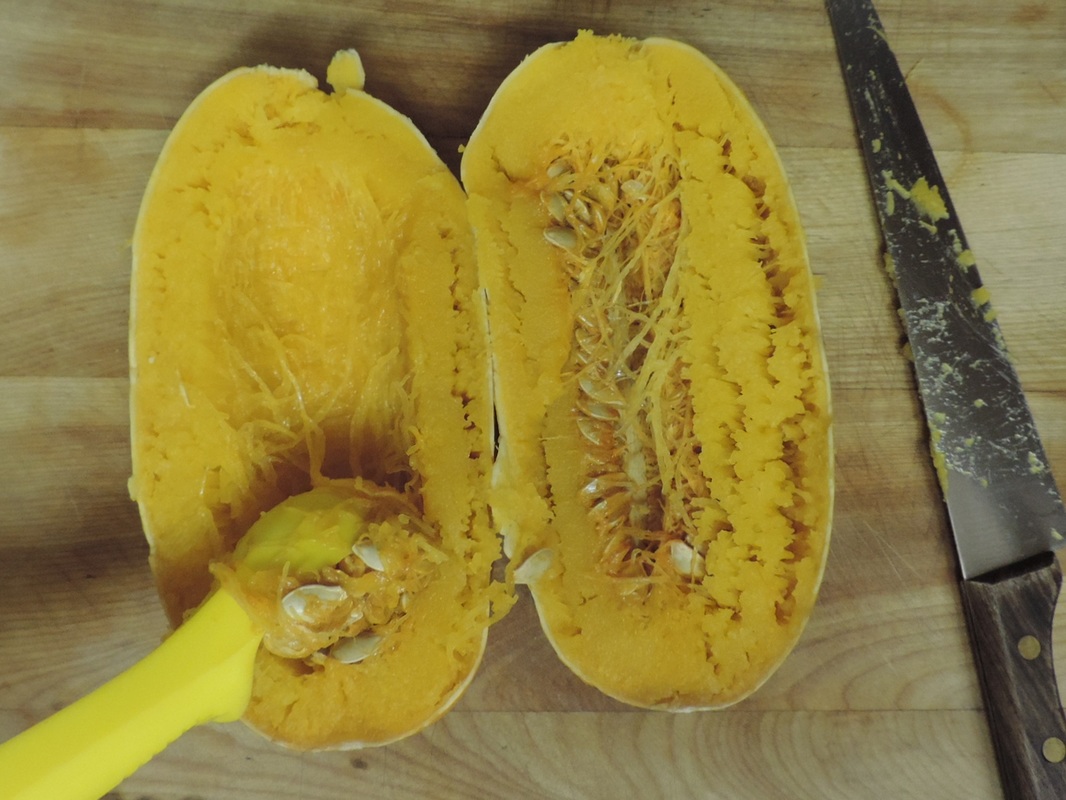
A long kitchen knife cut through the skin without problem, and an ice cream scoop made an easy job of scooping out the seeds and stringy material from the center.
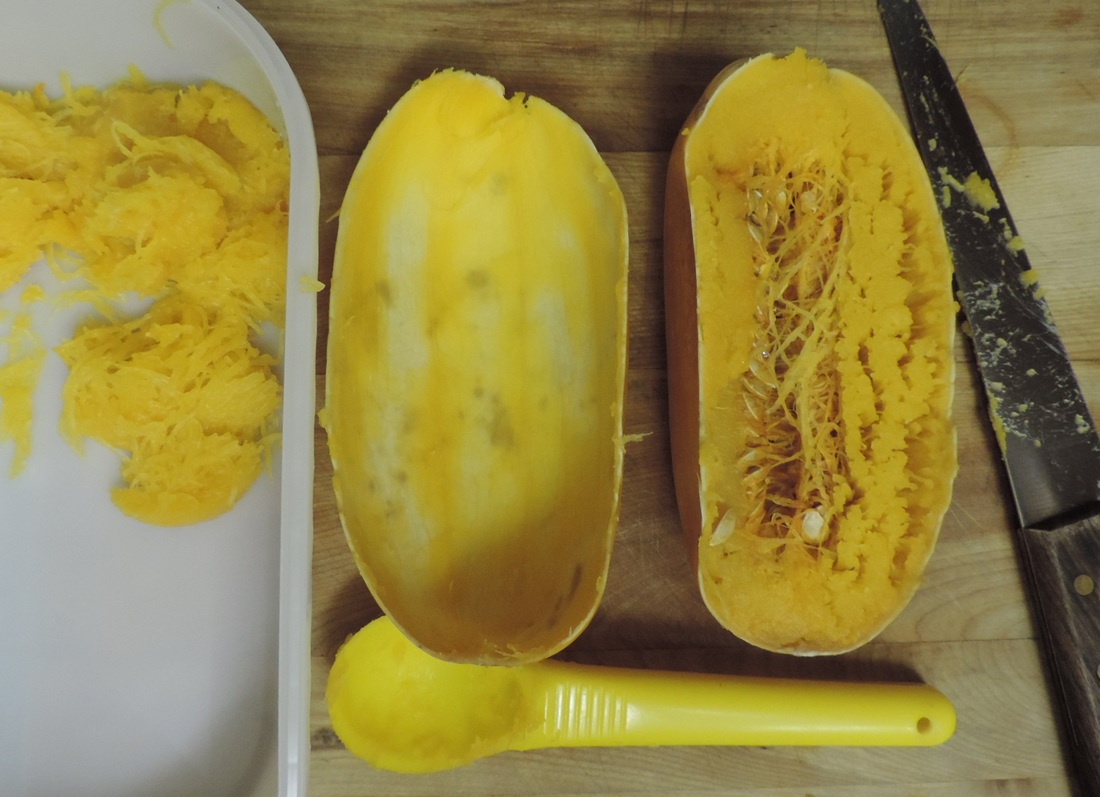
Still using the ice cream scoop, I cleaned out the rest of the skin. There wasn't much difference between cleaning out the cooked squash while it was hot or cooling, although the job was easier when the skin wasn't hot to touch with my bare hand. The skin hardened as it cooled which allowed scooping to the maximum whereas it ripped if I tried to get too close when it was warm.
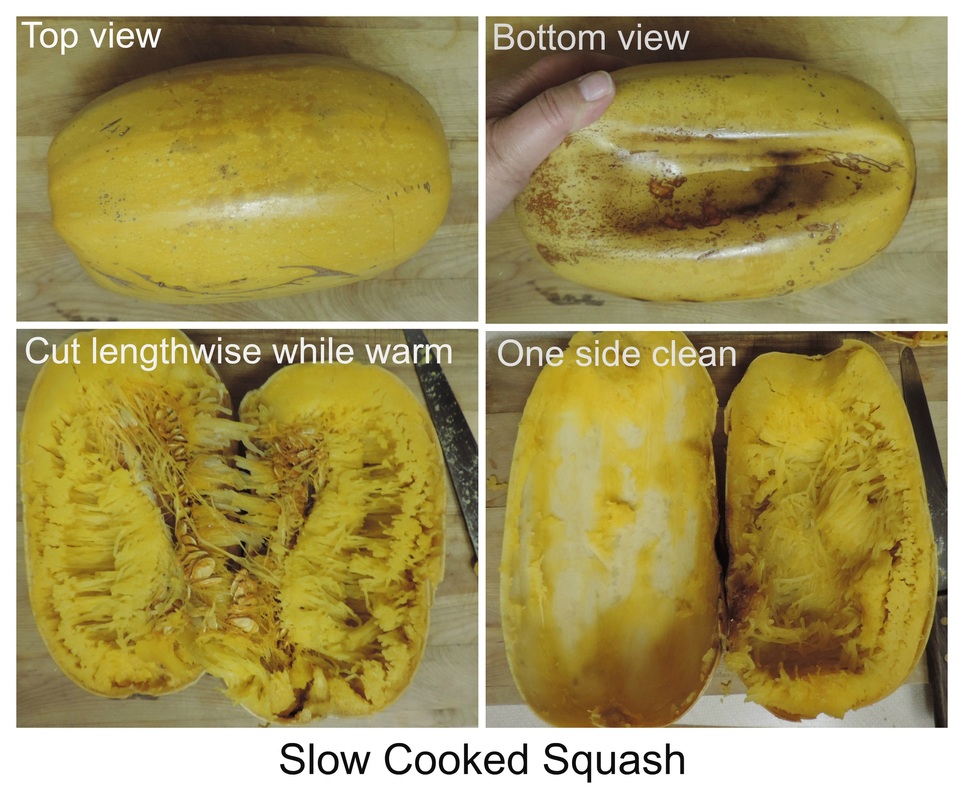
This montage shows different views of one squash. Remember, the bottom was sitting on a layer of aluminum foil so it didn't stick. Parts that were overcooked show as dark brown. I didn't save them because I wanted to keep a bright yellow color, but I tasted the brown parts and they exhibited a somewhat nutty flavor.
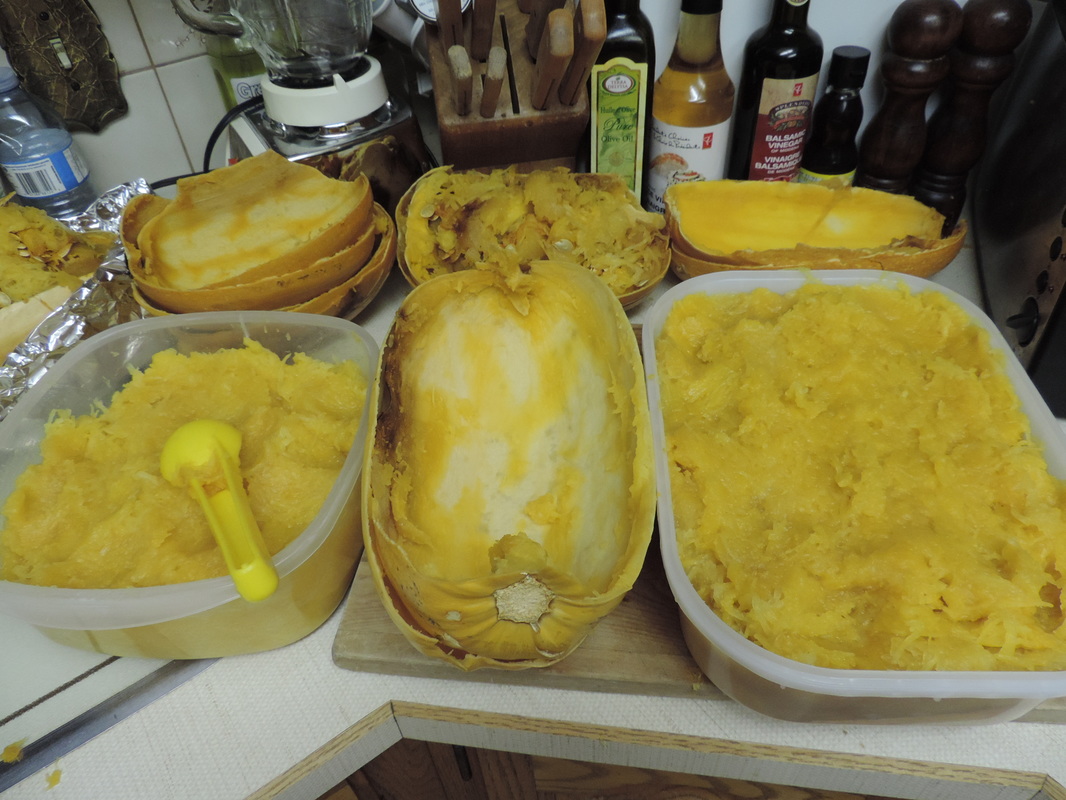
The top left and middle back of the next photo show the discarded seeds and stringy stuff which went to the compost pile along with the shells which hard hardened as they cooled.
The two white bins contained the good stuff.
The next day, we heated some of the cooked squash, added some butter, and ate it as a side dish. I also used some of the squash instead of pumpkin and sweet potatoes to make:
- Pumpkin Raisin Cookies
- Sweet Potato Pinwheels
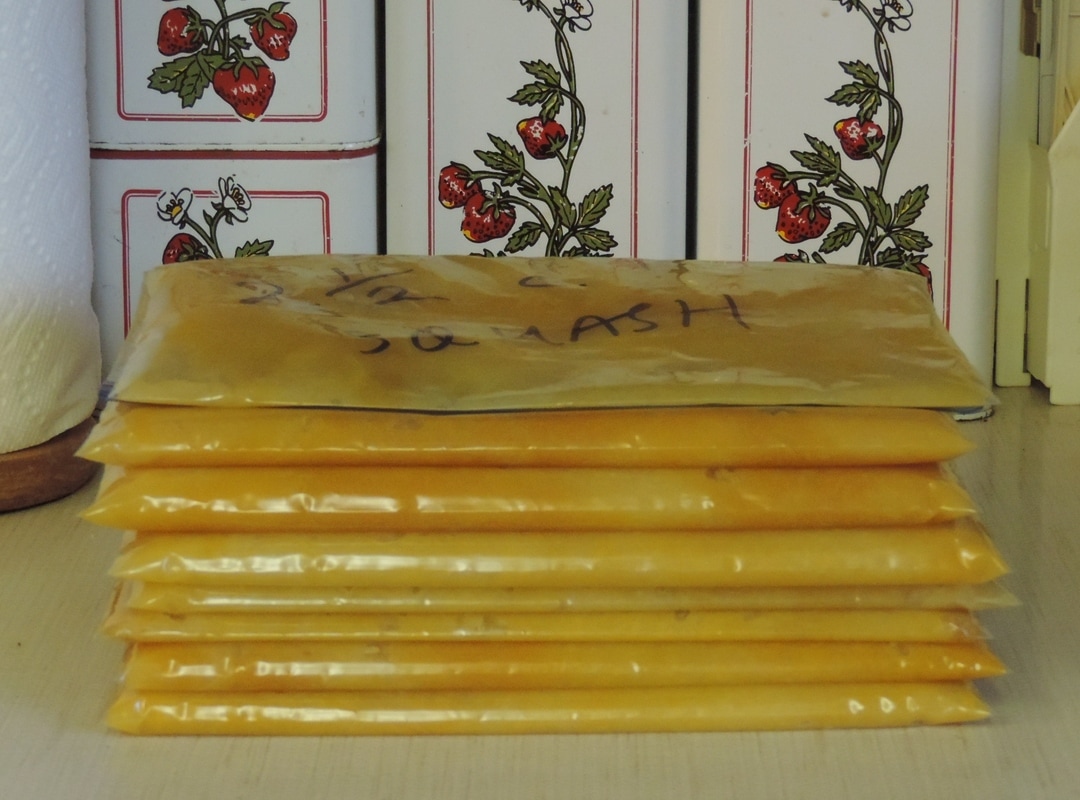
I froze the rest in ziploc bags:
- 5 bags of 3 cups
- 2 bags of 2 cups
- 1 bag of 2 1/2 cups
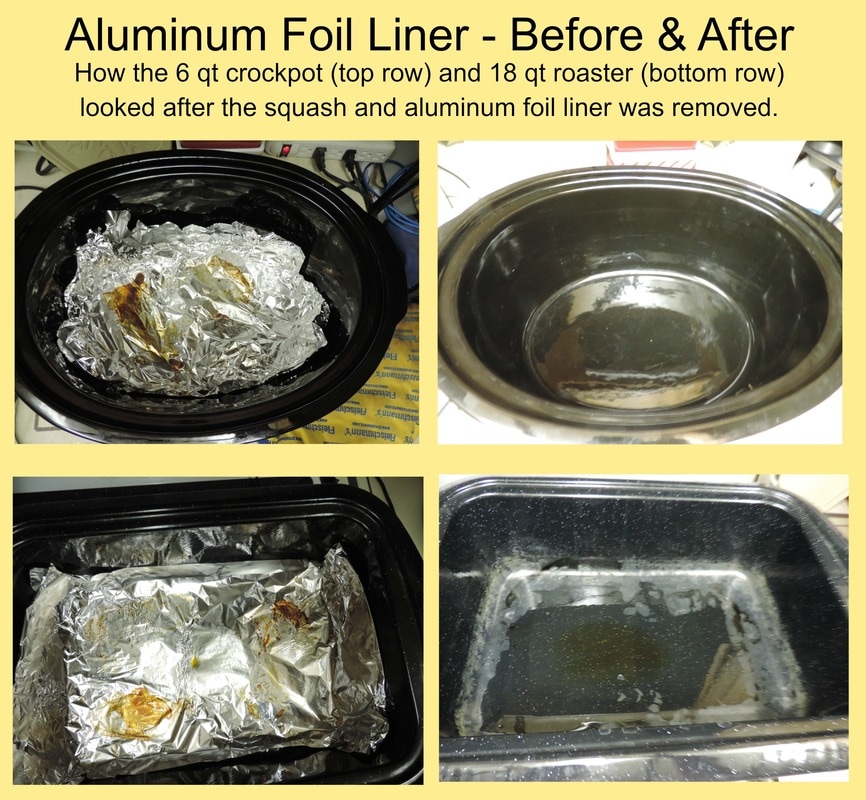
As you can see in the next montage, when we took out the foil lining, the 6 qt roaster looked great after a full day of cooking. The large 18 qt roaster however contained the white scale often found in a crock pot when used in this way.
I'll do some research to see if I can coat the bottom with grease or something before my next batch of squash. And yes, I will be using this technique again because it was so very easy to do.
I'd love to hear if you've tried this method and the type of squash you've cooked, regardless of whether it was a success or not.

 RSS Feed